Table of Contents
How to work with documents
A document is a file of any type (a photo, a video record, etc) connected with a person, event, place, etc and added to the database.
Original files of the documents are copied to a special folder (documents folder). The documents folder has the same name as the data file plus .files combination: for example, for the data file called test.at5 Agelong Tree creates a folder called test.files. The folder is found in the same upper folder as the data file. The two factors ensure data integrity when you move your data to another computer and when you create a backup archived copy.
In Documents table you can do all actions described in Interface overview, you can create, edit or delete a document, view information about documents. You can save or print the table and get statistics.
How to create a document
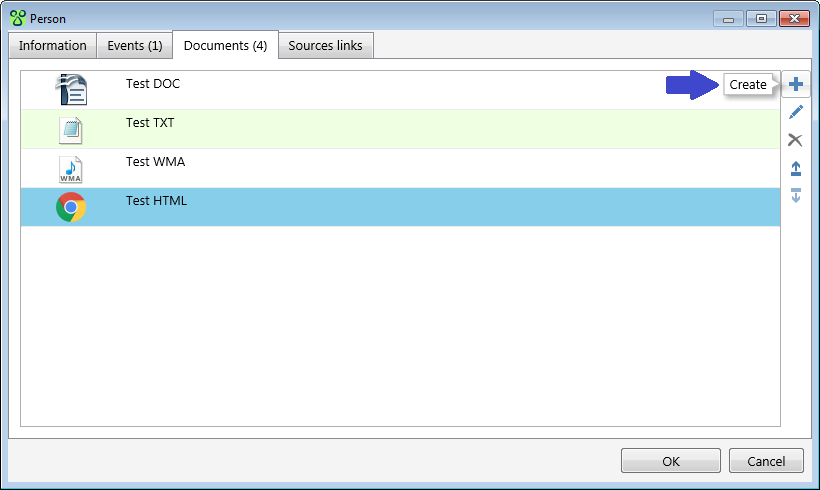
You can create a new document either on the Documents tab in the main window of the program, or in the edit window of the object (a person, an event etc). You click Create or + and choose a file on your computer. If in program options window the option Select a destination folder when creating a document is on, the file is copied to the selected folder inside the documents folder. If the option is off, the file is copied directly tothe documents folder.
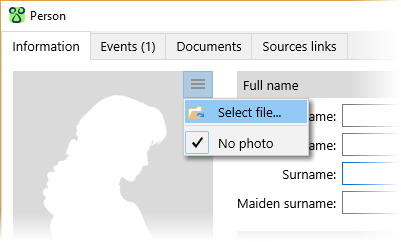
To create the person's main photo document you can use the menu Photo in the persons edit window:

You can use tab Documents in this window to create any types of documents.

How to edit a document
The Information tab in the document edit window contains all main information about the document:

The information is divided into several groups:
- Photo/Icon. A photo or a system icon showing the file type.
- Group under the photo/icon. Levels of confidentiality and authenticity are set at your discretion. A document marked as Favourite is in bold letters in the Documents table. Navigation panel allows to jump to a favourite document.
- Data fields
- Comment
Linked objects tab contains the list of objects (persons, places, events, etc) related to the document.
Sources links contains the list of links to the sources that were used to get this document.
Tagging people in the photos
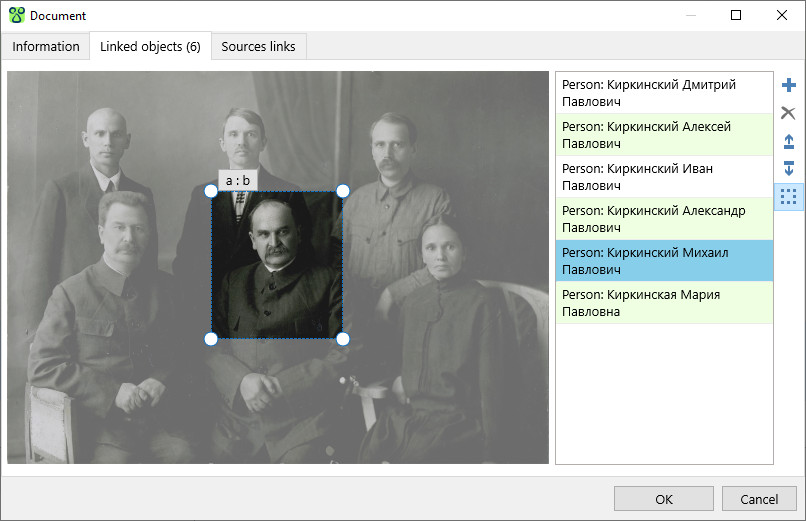
You can tag people in the photos. Open the document edit window and go to “Linked objects” tab, choose a person from the list of the linked objects or add a new person and click the button  . In the photo you will see a frame, you can move it on the person's face. Using button
 a:b you can change the shape of the frame, and by dragging the corners you can change its size.

Click OK in the bottom to save the changes. The framed fragment can be used as the main person's photo in the person's edit window. Tags are seen in the photo information window when you place the cursor on the photo: you will see person's name and age (if the person has date of birth and the photo has a date).